Test scene
Lets go ahead and set up a test scene. This scene will be used as the base for all our shading execrises. We're going to render 3 spheres, each will be shaded differently troughout the exercises.
- You should be in a perspective projection, with a 60 degree field of view
- The base class already does this, but review the code.
- I'm concerned that this bit isn't being practiced!
- Take note that it's set in the constructor and resize function
- Also, pay attention to the viewport. Every time projection is set, so is the viewport
- Set up your view matrix
- The camera should be positioned at (0, 5, -7)
- The camera should be looking at (0, 0, 0)
- Add a solid grid as the ground.
- You can use a subdivision of 0, we're only using directional lights
- Render 3 spheres, each with a subdivision level of 3
- One at (-3, 1, 0)
- One at (0, 1, 0)
- One at (3, 1, 0)
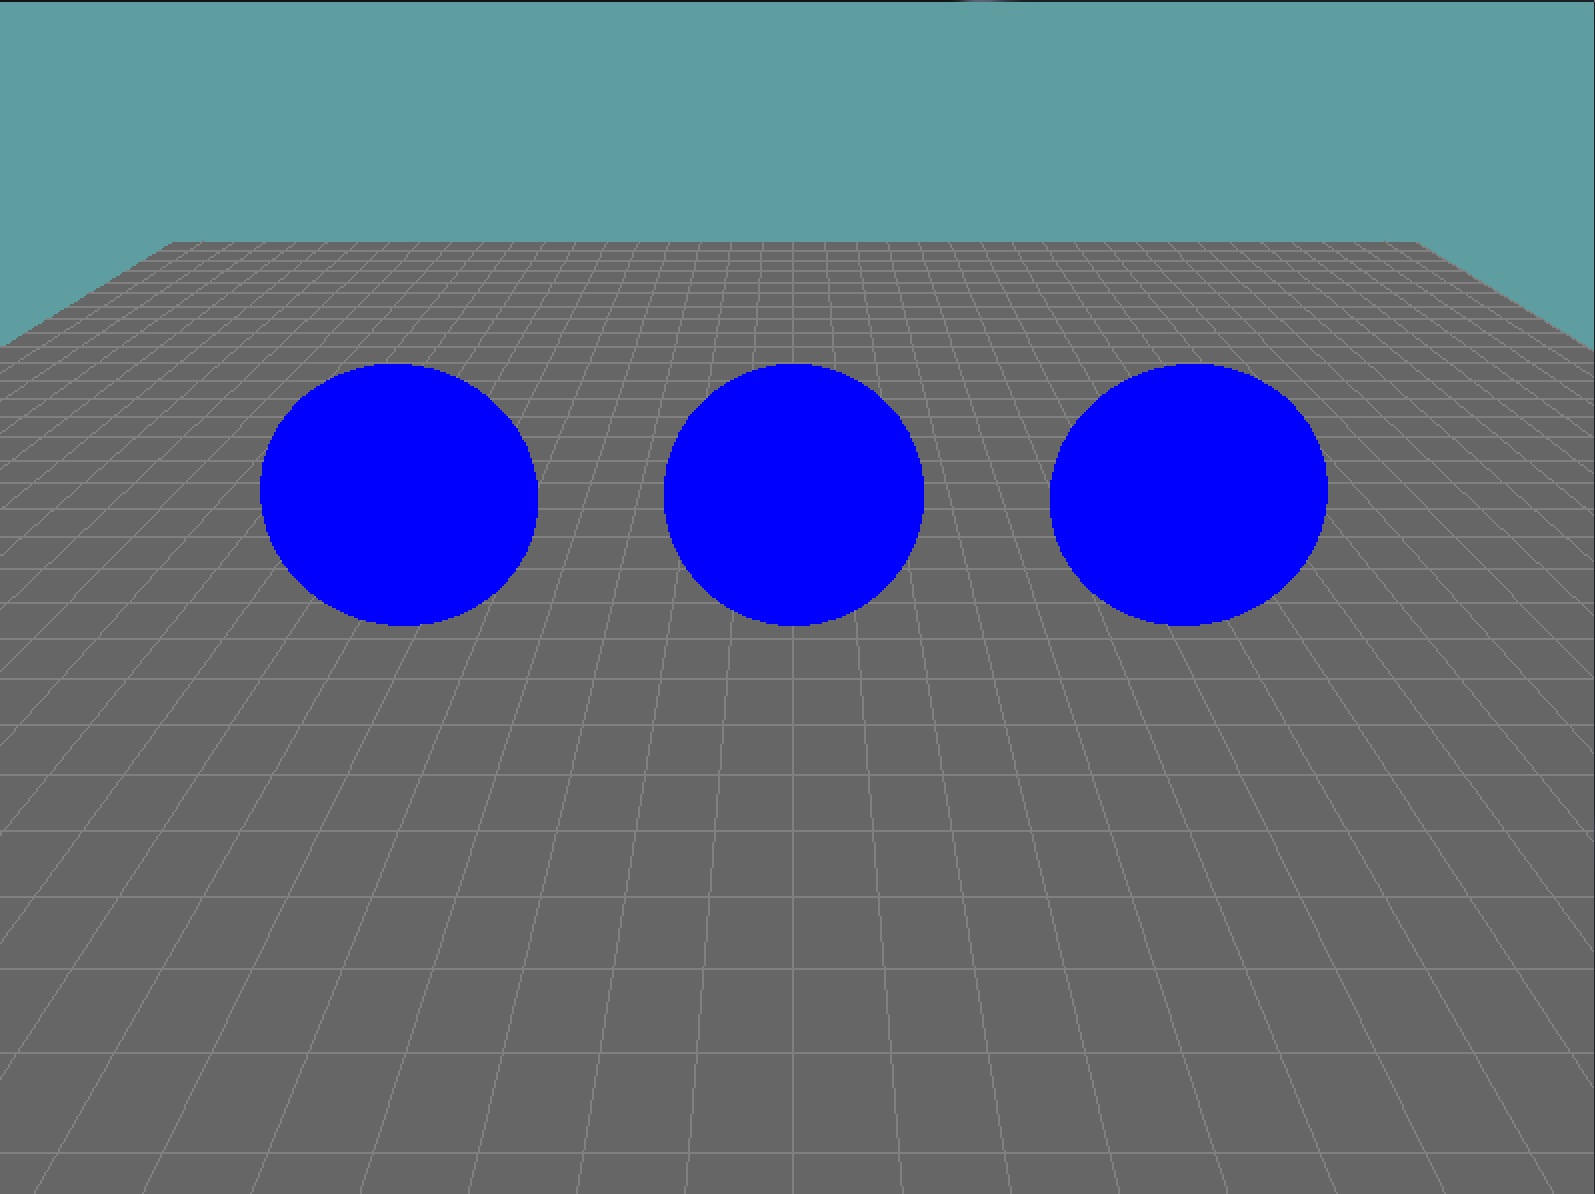
- Make sure the spheres render blue
Running your game, you should see this:

I use a subdivision level of 3 as i think it's a good mix between performance and looks. If you want to see a specific scene rendered WAY more accurateley (and pretty), temporarley set your subdiv level to 4 or 5. If the performance cost doesn't bother you, you might even just want to have them sitting on 4.
The camera for this scene SHOULD NOT ROTATE
With the basic scene set up, lets add a light. We're going to add a red light to the scene. It's going to shine directly onto the spheres.
- Enable lighting
- Enable light 0
- All configuration from here on will be affecting light 0
- It's a direcitonal light. It should shine from the direction {0, 1, 1}
- Remember, the difference between a directional and a point light is the W component
- Set the ambient color to red
- Set the diffuse color to blue
- Set the specular color to white (1, 1, 1)
- Disable lighting for the ground
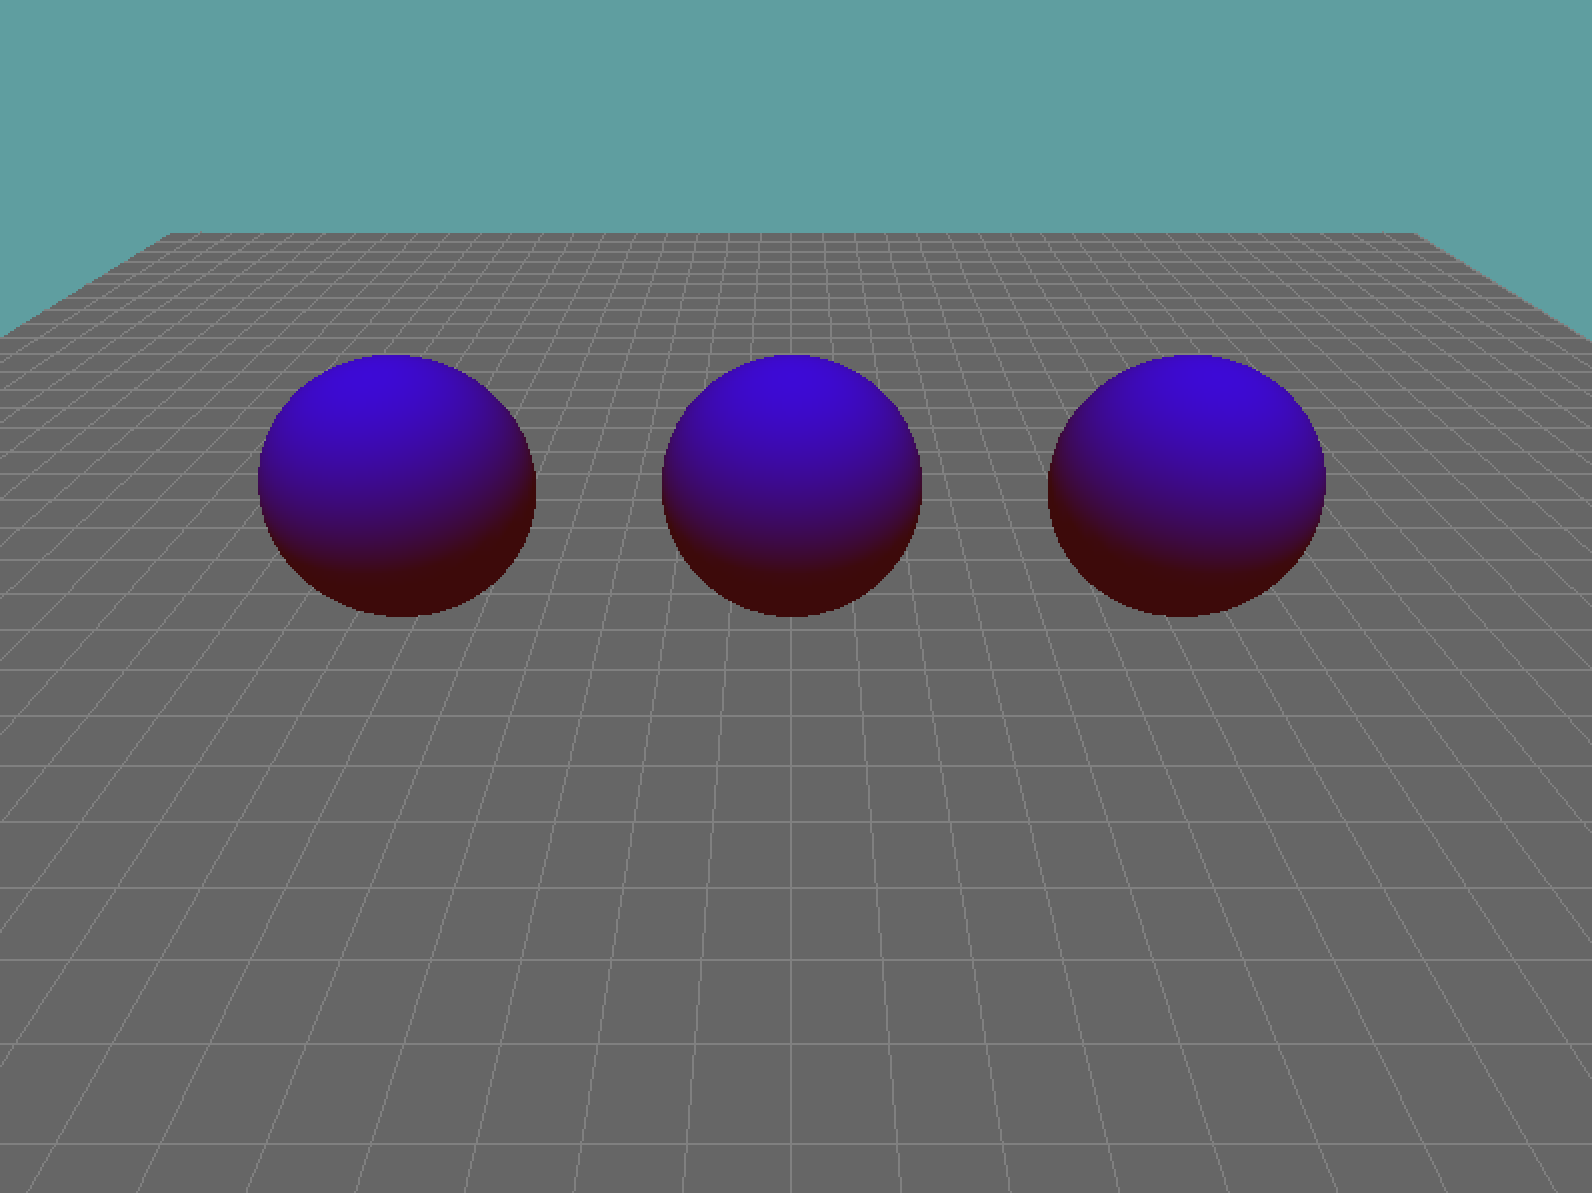
The default values for everything else are fine. Your scene should now look like this:
