OpenGL and Matrices
Now that you've learned about the verious transformation involved in OpenGL, lets take a look at how you actually use them. Transformations in OpenGL rely on the matrix for all mathematical computations. As you will soon see, OpenGL has what is called the matrix stack, which is useful for constructing complicated models composed of many simple objects.
Visualize Origin
Let's start with a simple scene. We're going to draw a small grid on the X-Z plane, then we are going to render the 3 basis vectors of world space. At first this isn't going to show much on screen, because without a projection matrix it will be in the middle of NDC, so we will only see two lines.
You may want to add this render code to the MainGameWindow class, before the scene is rendered. This is going to be a visual baseline so we can see what is going on, and it should appear under every sample we will make in this chapter.
Make a new class, lets call it Grid. In it, have a Render function. This should be the contents of that function:
// Draw grid
// Set render color to gray
GL.Color3(0.5f, 0.5f, 0.5f);
// Draw a 40x40 grid at 0.5 intervals
// The grid will go from -10 to +10
GL.Begin(PrimitiveType.Lines);
// Draw horizontal lines
for (int x = 0; x < 40; ++x) {
    float xPos = (float)x * 0.5f - 10.0f;
    GL.Vertex3(xPos, 0, -10);
    GL.Vertex3(xPos, 0,  10);
}
// Draw vertical lines
for (int z = 0; z < 40; ++z) {
    float zPos = (float)z * 0.5f - 10.0f;
    GL.Vertex3(-10, 0, zPos);
    GL.Vertex3( 10, 0, zPos);
}
GL.End();

// Draw basis vectors
GL.Begin(PrimitiveType.Lines);
// Set the color to R & draw X axis
GL.Color3(1.0f, 0.0f, 0.0f);
GL.Vertex3(0.0f, 0.0f, 0.0f);
GL.Vertex3(1.0f, 0.0f, 0.0f);
// Set the color to G & draw the Y axis
GL.Color3(0.0f, 1.0f, 0.0f);
GL.Vertex3(0.0f, 0.0f, 0.0f);
GL.Vertex3(0.0f, 1.0f, 0.0f);
// Set the color to B & draw the Z axis
GL.Color3(0.0f, 0.0f, 1.0f);
GL.Vertex3(0.0f, 0.0f, 0.0f);
GL.Vertex3(0.0f, 0.0f, 1.0f);
GL.End();
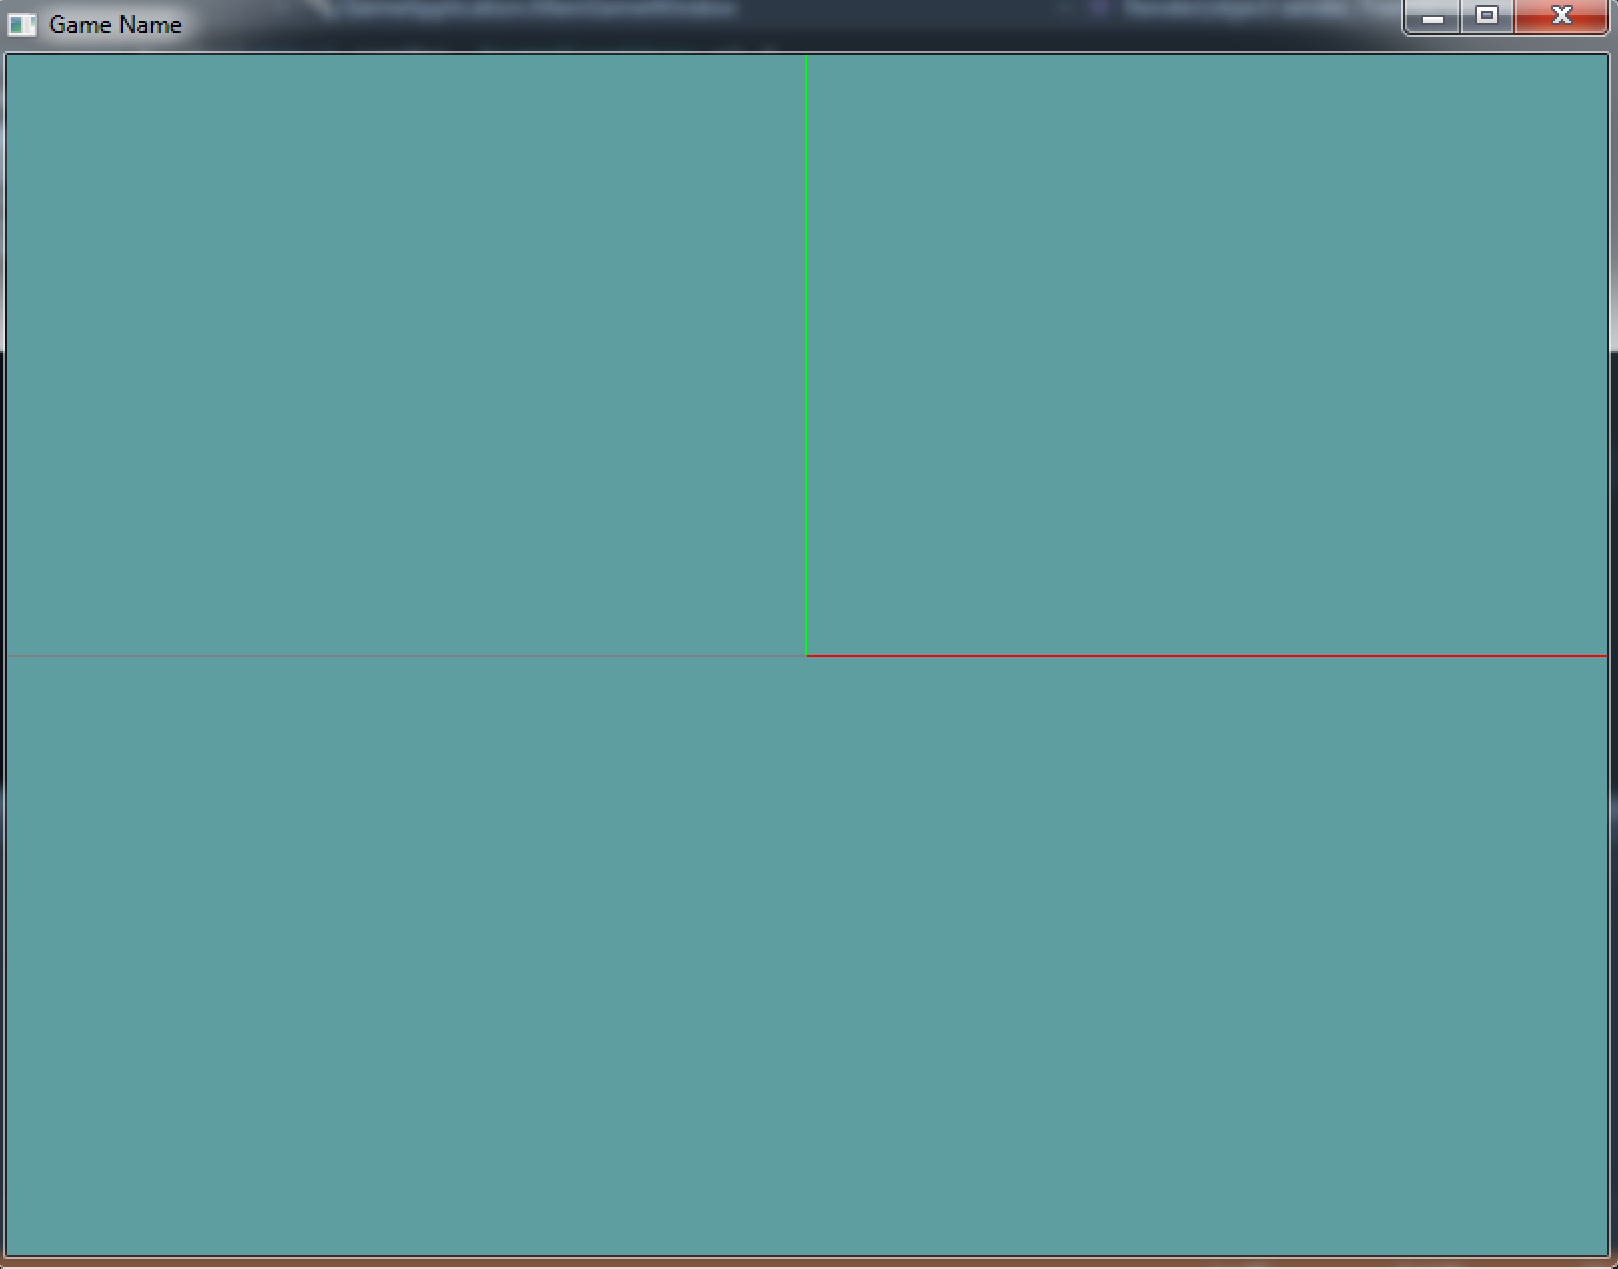
Keep in mind, right now we're strictly looking at the center of NDC space. The above code will not look too impressive. Running your application, your screen should look like this:
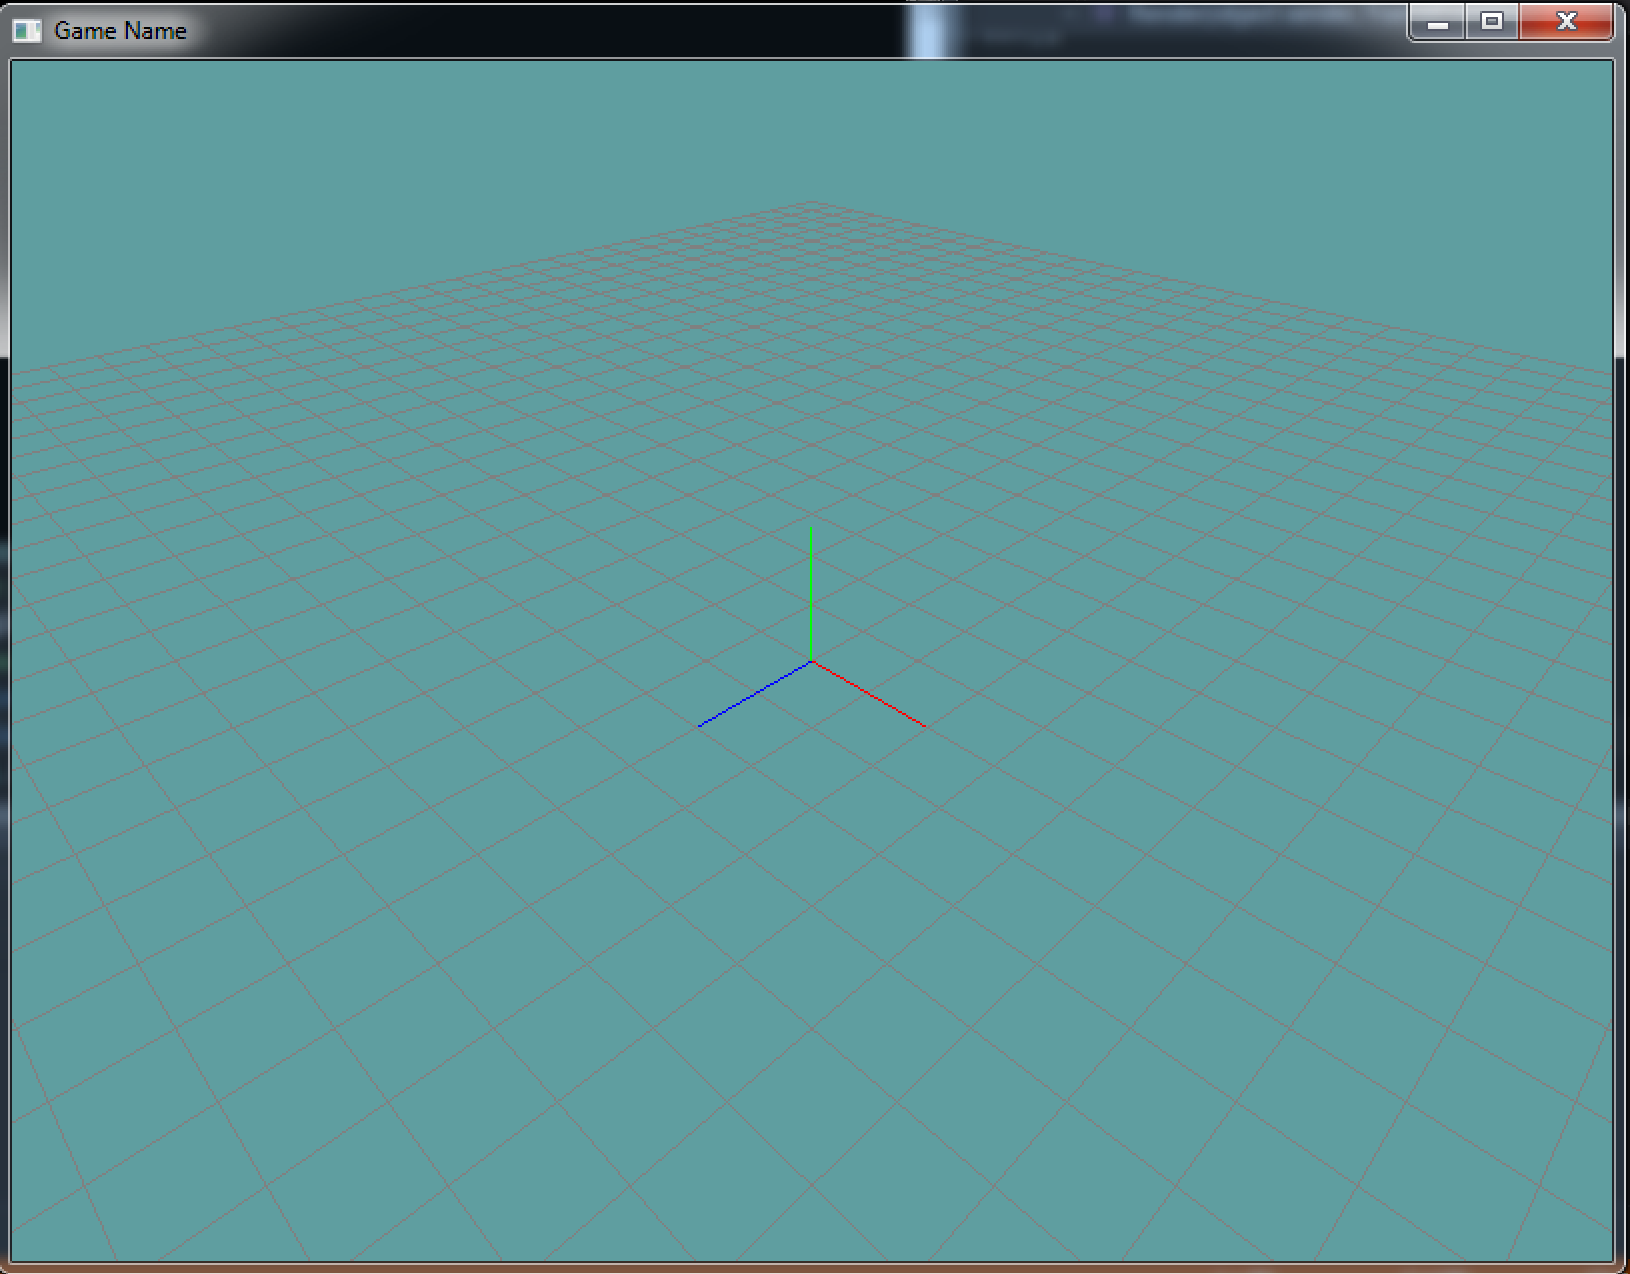
Once we are able to position the camera and add perspective you will see that what we did really looks like this: